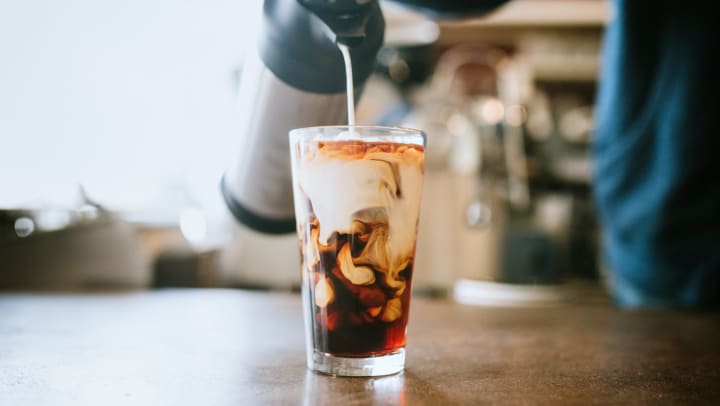
Oh, coffee. You can do no wrong! However, sometimes the weather isn’t quite right for your hotness. And sometimes, you can be a little acidic for sensitive tummies.
If you, dear reader, are suffering from either of these coffee-related issues, fear not! Homemade cold brew offers the ideal solution, bringing you big coffee flavor and a bigger caffeine kick without all that other noise. Check out our tips on whipping up your own batch and give it a try for yourself!
Good Beans
Good coffee always starts with good beans, regardless of the brewing technique used. What brand or style of roast is best isn’t a battle we’re prepared to wade into the middle of in this post. Just pick something you love. One thing to keep in mind is that cold brewing often uses more beans than standard coffee (depending on how strong you usually make yours), so you may want to buy extra beans. Because more coffee is used and the ground beans sit in the water longer (more on this below), cold brew is often quite a bit more caffeinated. Consider mixing in some ratio of decaf if you’re worried about jitters or missing your bedtime.
Large Containers
Because you’re brewing your week’s coffee ahead of time, you’ll need a couple of large containers – one to brew in and one in which to store your joe. A large glass pitcher with a lid, like this one from Vorda, is a great option. It will fit neatly in your fridge, make serving easy, and you can clearly tell how long till you need to brew your next batch.
As for brewing, a large Cambro container like this one is a great option. These professional-quality plastic containers are designed for safe food storage but are also light, easy to clean, and easy to store on a high, out-of-the-way shelf where they can be easily forgotten till next week.
Measure Everything Out
Our preferred ratio is 1 ounce of coffee beans to 1 cup of cold, freshwater. Measure your coffee beans using a kitchen scale and the water using a measuring cup. Or, if you go with the Cambro-style container, quarts are marked right on its side!
The Grind
You will want a coarse grind for your cold brew. This will make it easier to strain out at the end of brewing. The easiest way to control your grind size – if you don’t own a burr grinder – is to use the grinders available at most grocery stores. If you’re currently doing all your shopping online and the thought of purchasing coffee and grinding it in public gives you palpitations, you can also use your standard, electric mill-style grinder. Just don’t hold down the ON switch as long as usual.
Set It & Forget It
Dump your grounds into your brewing container, add the water, stir it all up, and let it sit for around 12 hours. When it’s go time, simply strain out the coffee beans, and you’re good to go! There are a few ways to do this. Many recipes call for lining a fine-mesh sieve with cheesecloth and filtering that way. We often reach for our paper coffee filters and brew cone, which work just as well but take a little longer. Cookie + Kate combines the two (the sieve and the coffee filter – she claims to hate cheesecloth).
Drink Up
Because of cold brew’s higher strength, it works particularly well with milk, cream, or a milk substitute. We like a thick oat milk option, but you do you. If you prefer to drink it straight up, you may want to add a little more water. You can also heat it up if the day grows cold. So many options! Enjoy.
For more tips on staying caffeinated this summer, visit the Olympus Auburn Lakes blog.


