
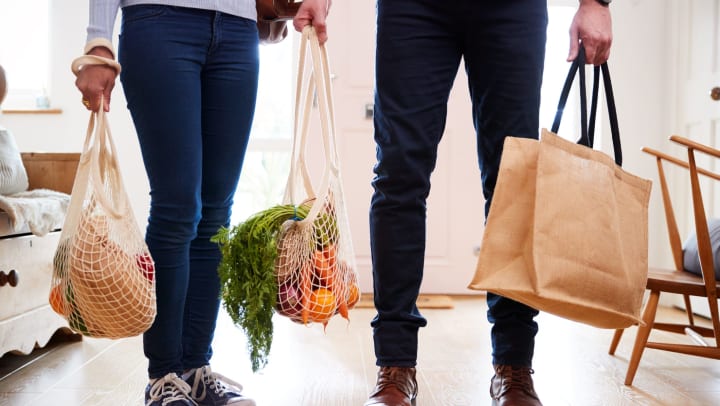
So you’ve decided it’s time to start using reusable shopping bags. Whether your intention is to save money, save the environment, or save yourself the trouble of dealing with paper and plastic bags all too ready to tear with the slightest snag, the good news is that you’re making a wise choice. Not only are reusable bags more environmentally friendly, but they can also be a lot of fun to make and fashionable to use. Based on Online Fabric Store’s original instructions, this DIY guide offers a simplified approach to make a reusable shopping bag that fits your personality.
What You’ll Need
- 1 Yard of Fabric
- Scissors
- Ruler
- Thread
- Pins
- Marker
- Sewing Machine
- Iron
Pick Your Fabric
Before you get to anything else, you’ll want to pick your fabric. The Spruce Crafts recommends something durable such as denim or canvas. Find a print or pattern that resonates with you. You can use a different fabric for the straps if you’d like, but using the same fabric keeps things coordinated. Whatever you choose, be sure to prewash your fabric before assembling your bag.
All set? Let’s get to sewing.
Make the Bag
- Measure and cut two 21”x20” square pieces of the fabric. For the straps, simply cut two 5”x22” pieces. Simple enough!
- Lay out the two square pieces of fabric on top of each other, with right sides facing up. Pin the bottom and carefully sew across with a ½” seam allowance. When you’re done, press the seam open.
- Still have your ruler handy? Fold in the ends an inch. Grab your iron and iron the folds to keep them in place. With the right sides together, fold the squares in half and pin.
- Fold the fabric in half with the right sides together. Now pin. Sew along the sides, once more with a ½” seam allowance. After pressing the seams open, fold the corner. The side seam and the bottom seam should line up.
- Measure 3½” from the corner. Exclude the ½” seam allowance from your measurements.
- Measure ½” from the stitches and cut off the corner. Do the same for the other corner.
The hard part is out of the way! But you may have trouble using this as is. Perhaps something to hold onto might help?
Make the Handles
- Take one of your handle pieces and fold it in half, lengthwise. Iron it out.
- Fold each edge to the center crease and press.
- Now repeat by folding the piece in half again. Don’t forget to iron!
- Measure ⅛” from the edge and sew down both sides.
- Repeat these steps for the other handle.
You’re almost there – but take a break if you need it!
The Finishing Touches
- Lay the bag fabric flat with the top folded down an inch. Use your ruler to mark 6” in from each side.
- Take your fabric handle and place it on the inside of your markings. Line up each end with a corresponding raw end of the fabric. Pin it in place.
- On the ends of the handle, sew a square with an x through it.
- Repeat for the other handle on the opposite side.
- Turn the bag right side out.
Voila!
You did it! Embrace your new eco-chic self. Who knew carrying a few boxes of oatmeal and a hand of bananas could look so cool. We hope you found this helpful. Be sure to check out our blog for more tips and updates on local events.