
If you’ve been looking for a fun new DIY project, block printing is a great way to create artsy gifts and personalized items. Block printing is a technique used to print text, images, or patterns onto a variety of surfaces, including paper, cardboard, cloth, and more. If you’re just getting started, here is a quick beginner’s guide for making beautiful block print DIY projects.
Gather Your Tools
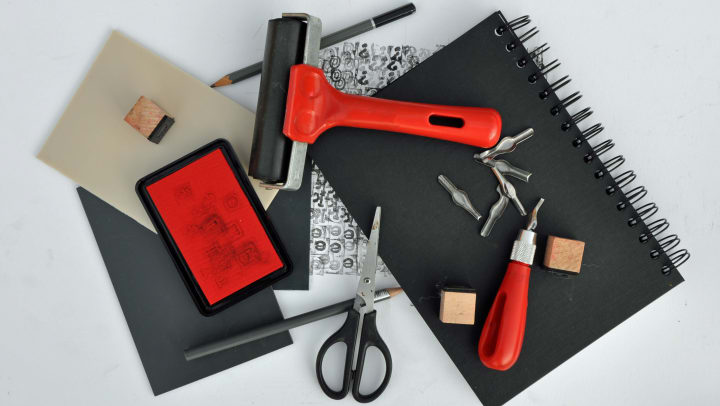
Every project starts with the right tools. You can find a beginner’s block printing kit online pretty easily. If you’re going to be carving your own stamp, you might also want to pick up some extra carving blocks, in case you mess up. Get some graphite paper while you’re at it – you can draw out a design on it and transfer it to the block to use as a guide while carving.
Find Your Design Inspo
Next, you need to figure out what you’re going to make an image of on your carving block. Remember that whatever you are trying to create will be mirrored onto whatever you are printing – so if you are doing a letter or phrase, you’ll need to carve it backwards. A block print is generally an image in relief, so simple geometric shapes or designs are a good starting point while you get the hang of carving and printing. Pinterest is a great place to search for inspiration for your stamp.
Choose Your Medium(s)
Depending on your canvas of choice, you’ll want to choose an appropriate paint or ink. For example, If you want to print a tote bag or item of clothing, you might need to pick up fabric paint. For paper goods, you can easily use the acrylic paint that comes with most starter kits. You should always test your new carved stamp on paper before using it on the final product. Test with either the acrylic paint or even a large ink stamp pad to make sure your design comes out right.
Roll Out
The starter kit should also come with a paint roller. Squeeze out your paint in a line and roll it out into a thin layer before pressing your stamp into it. You don’t want to get too much paint on your stamp or you’ll lose line definition. Try one more final test with your color for best results.
Looking for more cool DIY fun? Read on at the Cadia Crossing blog.